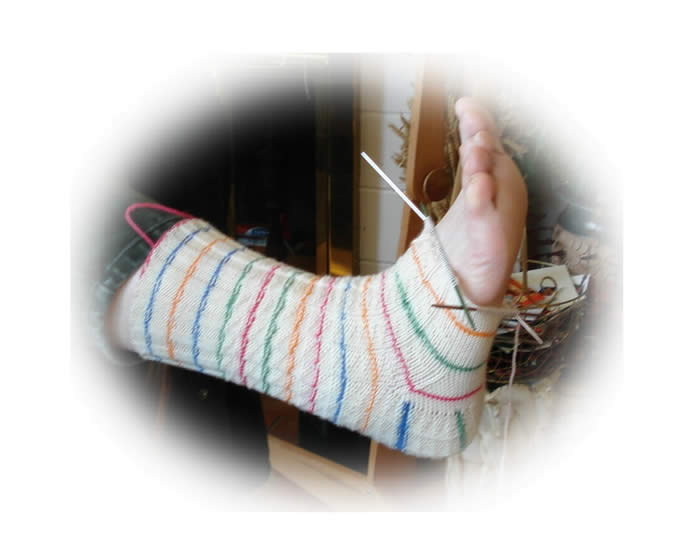
A proud giftee - Kevin's son!
Kevin has been knitting for years….he told me the other day that he was a young boy when his mother taught him what to do with those knitting sticks. He has knitted color work for years….he showed us the vest in process for his wife (photos to be shared in subsequent post)….and then he picked up his needles to start the top-down sweater for his son. His goal is now to learn more technique and improve existing technique. He produces lovely knitted fabric…his stitch construction is good…he simply wants to learn more.

On to the body!
The yarn of choice for this sweater is Brown Sheep’s Cotton Fleece. Kevin began at the neck edge, did the raglan shaping, placed the stitches for the sleeves on waste yarn “holders”, continued knitting in the round for the body of the sweater for an inch or so and then introduced his color design…the initials of his son.

The beginning of the color design!

The Sleeve Details
The stitches on the waste yarn holders were put back on the needles, and the sleeves were knit from the armhole down to the wrist. The fitting technique here is to determine how many stitches are needed for the wrist….how many stitches are on the needles…..how many stitches need to be decreased over how many rows to create desired length. The decreases for shaping create a seam line under the arm which is where the decreases should happen. The decrease “recipe” is K2tog, k1, SSK…..this will create a symmetrical “seam” line.

Almost done!
You can now see the body and one sleeve done. The best is yet to come….the finished sweater.

The finished top-down sweater
Read Full Post »


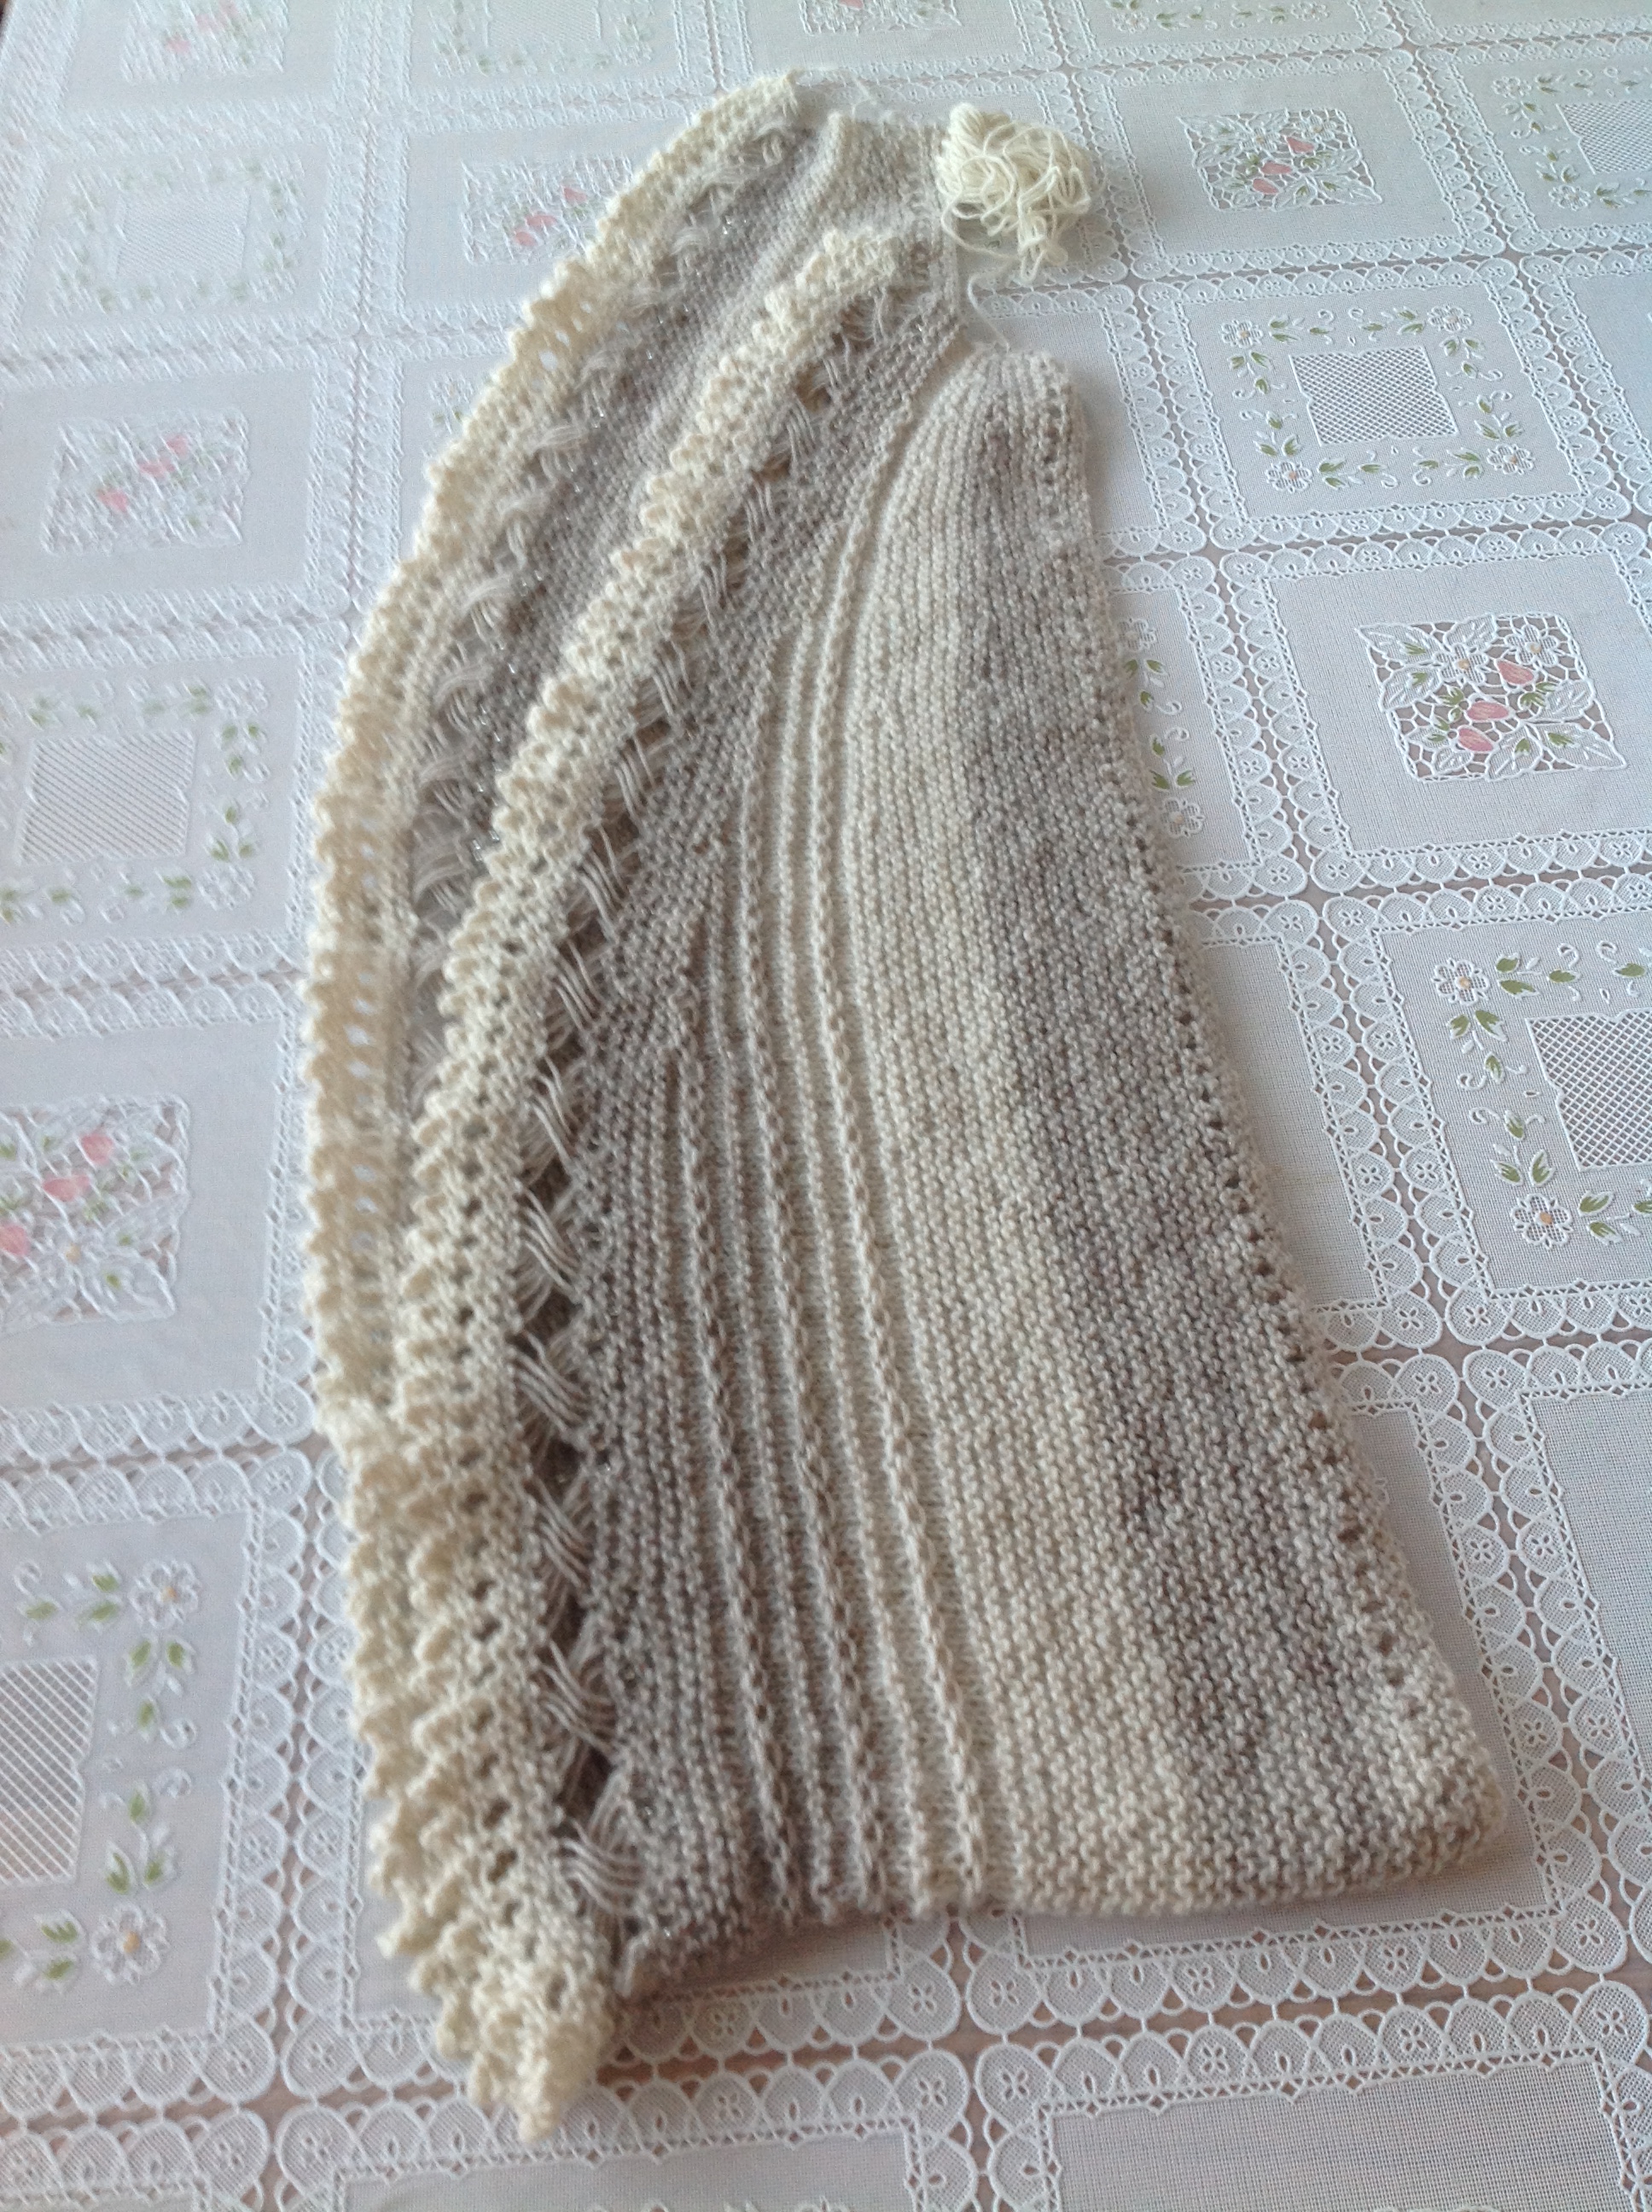
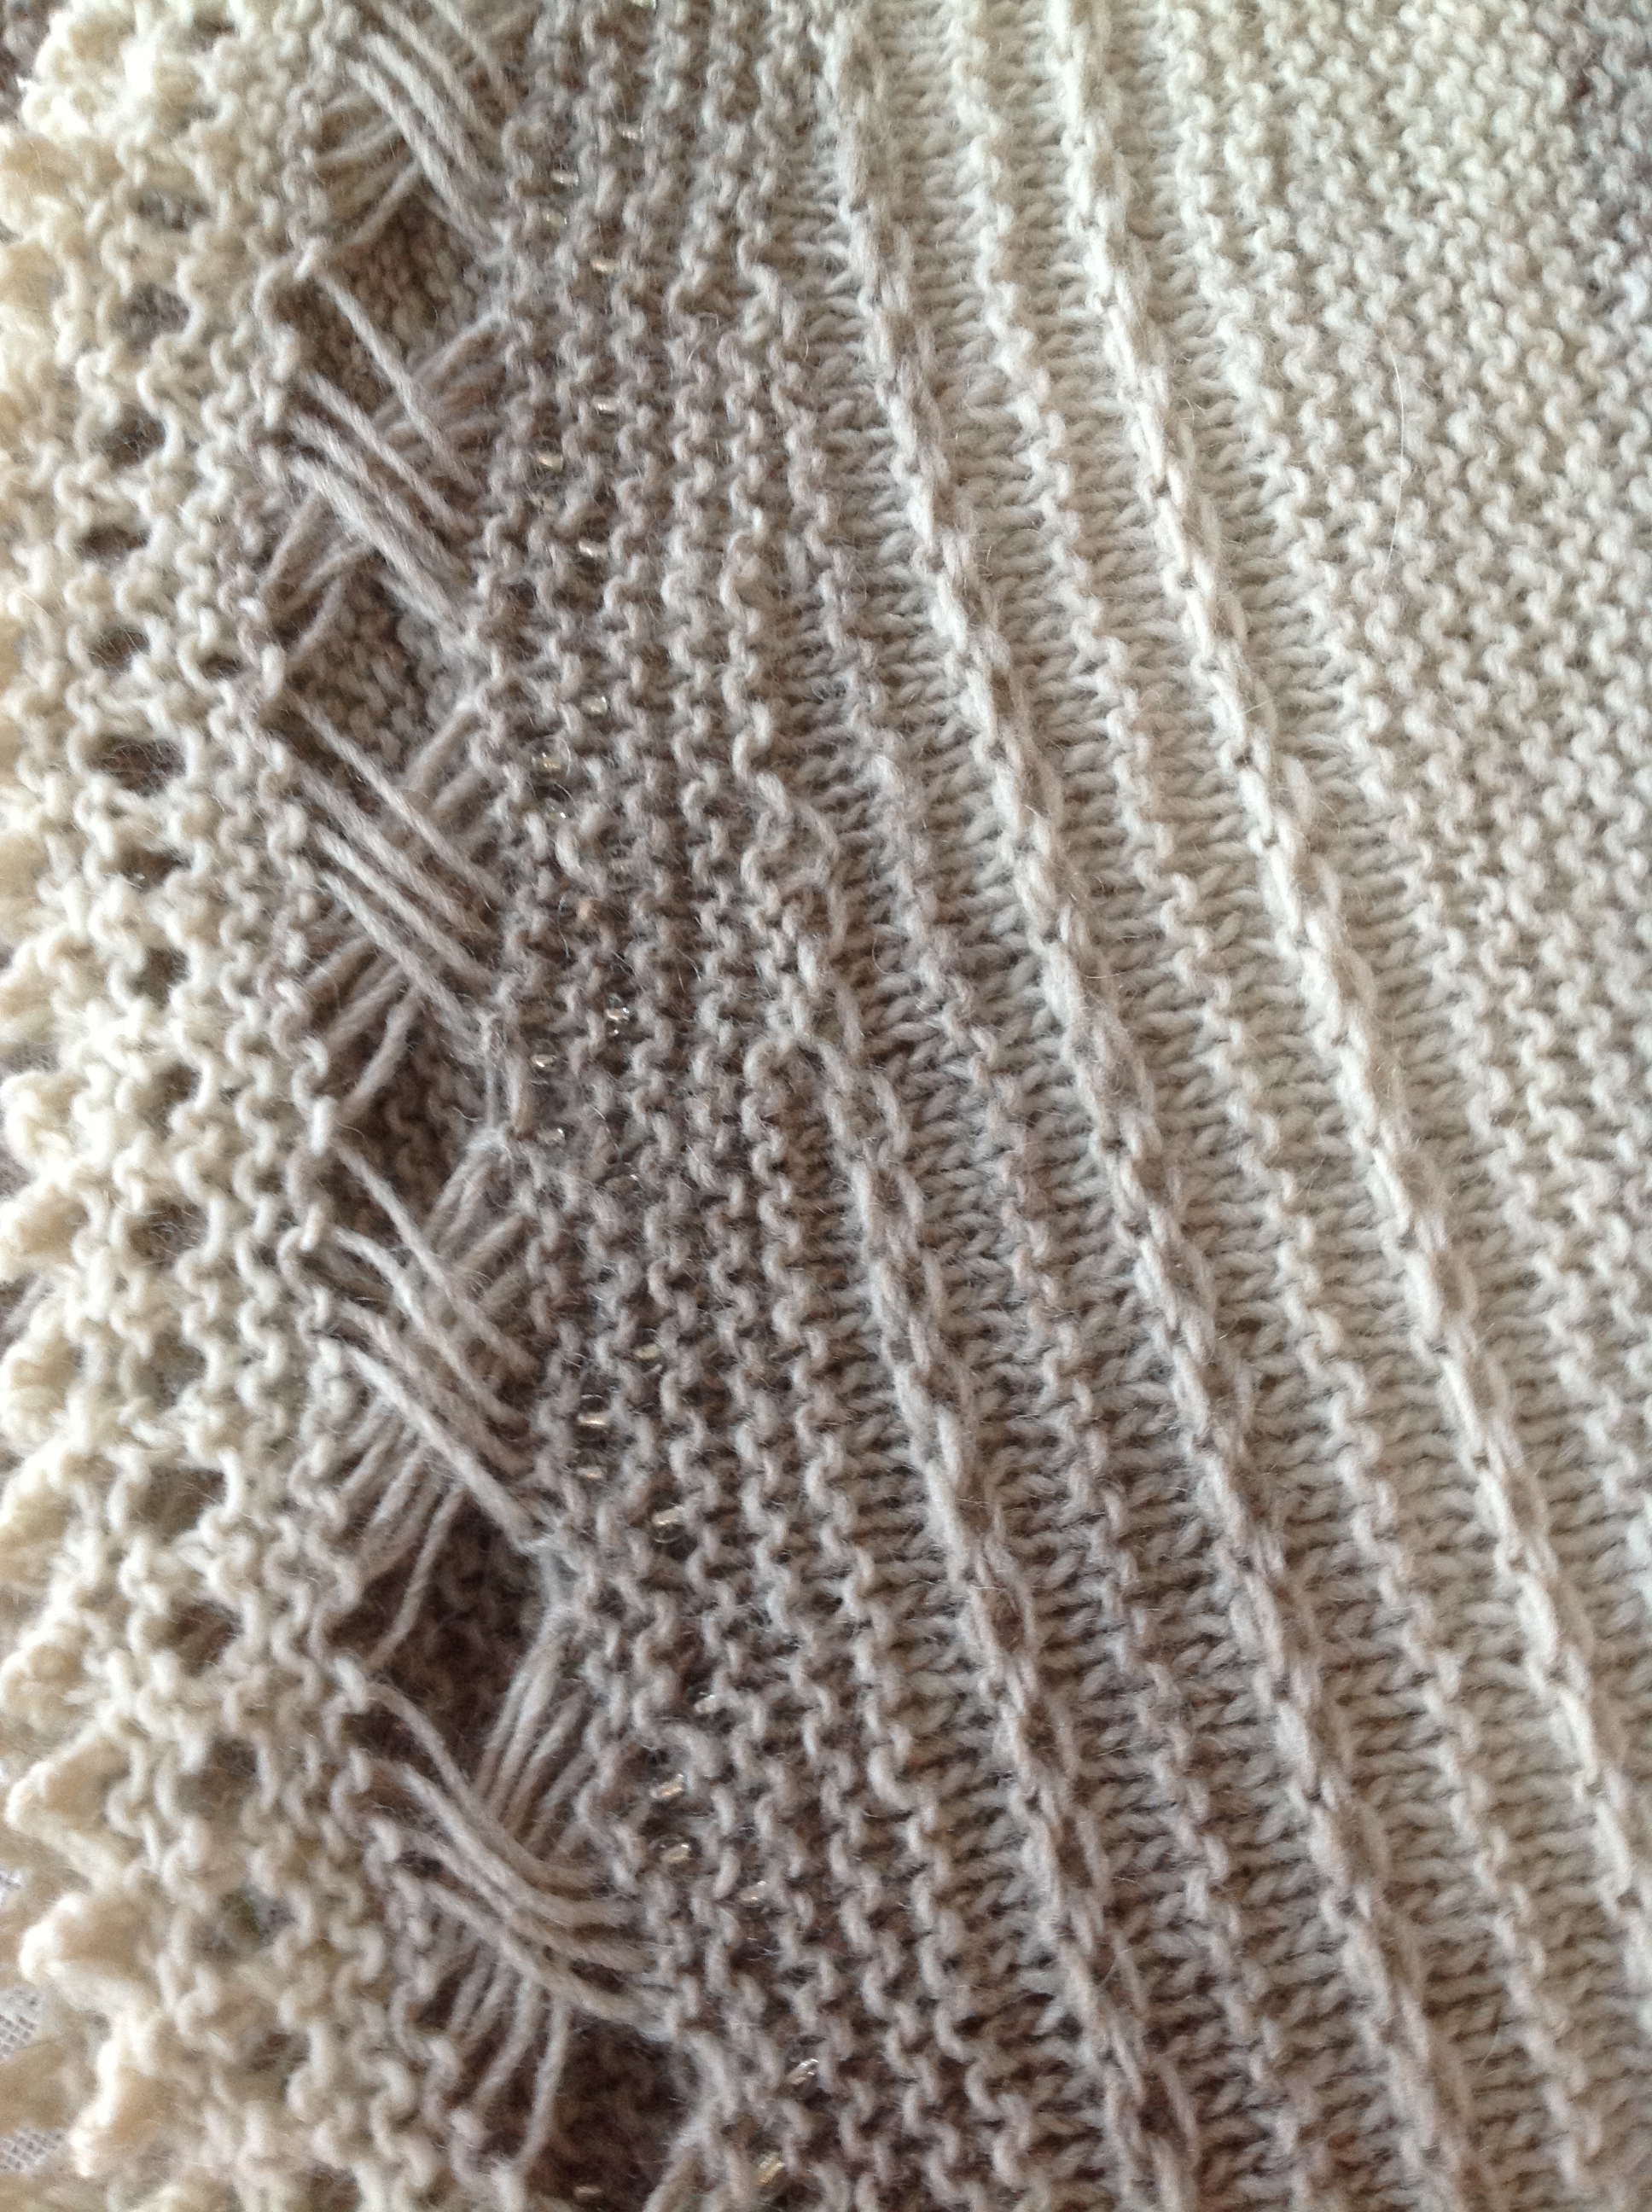
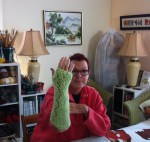
 There are 3 pattern sets – Lace, Garter and Rib – in each repeat. My mind is such that it wanders when I knit and relax which means I do a terrible job of keeping track of the number of rows (in my head) and the “benchmark” stitches at the end of each set. Notice my green cheat notes. I mark off each row and count the number of stitches so that I know the increases are happening sequentially. I like the idea of adding the expected number of stitches at the end of each pattern set – benchmark. This system also allows to more easily help anyone in our knitting circle.